
|
OrthoRoute is a GPU-accelerated PCB autorouter designed specifically for a narrow class of extremely large, dense, highly regular multilayer backplanes and BGA escape patterns. It uses a Manhattan lattice and the PathFinder algorithm to route designs with thousands of nets. It is not a general-purpose PCB autorouter. Orthogonal! Non-trivial! Runs on GPUs! I live in San Francisco! Never trust the autorouter, but at least this one is fast. |
Caution
OrthoRoute is not a general-purpose PCB autorouter.
OrthoRoute is designed for a narrow class of extremely large, dense, highly regular multilayer backplanes and BGA escape patterns. It is useful to about five people on the planet, and you probably aren't one of them. For a conventional PCB, use something else.
In PCBWorld: A Benchmark Environment for Engine-Grounded PCB Design Automation, Song et al. benchmarked OrthoRoute against Freerouting, KiCadRoutingTools, and several learned routing agents on synthetic and open-source PCB datasets.1
- On the synthetic D2 dataset, OrthoRoute achieved a 1% clean-pass rate and 30% routability.
- On D3-A, a set of 99 open-source boards, it achieved a 2% clean-pass rate and 51% routability.
- Freerouting and KiCadRoutingTools performed dramatically better on both datasets.
The benchmark used small, ordinary boards and OrthoRoute's upstream defaults; it did not test OrthoRoute's intended thousands-net backplane workload. It nevertheless demonstrates that OrthoRoute is a terrible default choice for ordinary PCB autorouting.
A much more comprehensive explanation of the WHY and HOW of this repository is available on the build log for this project.

OrthoRoute Overview |
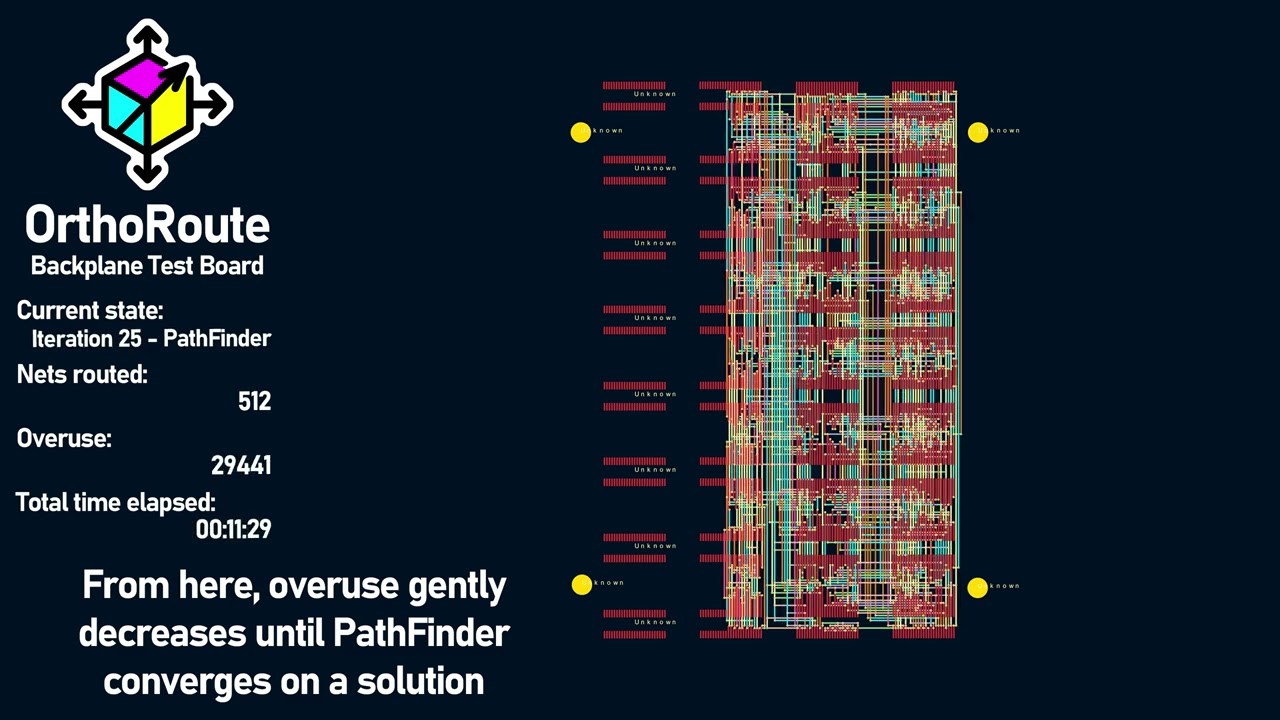
Algorithm Demonstration |
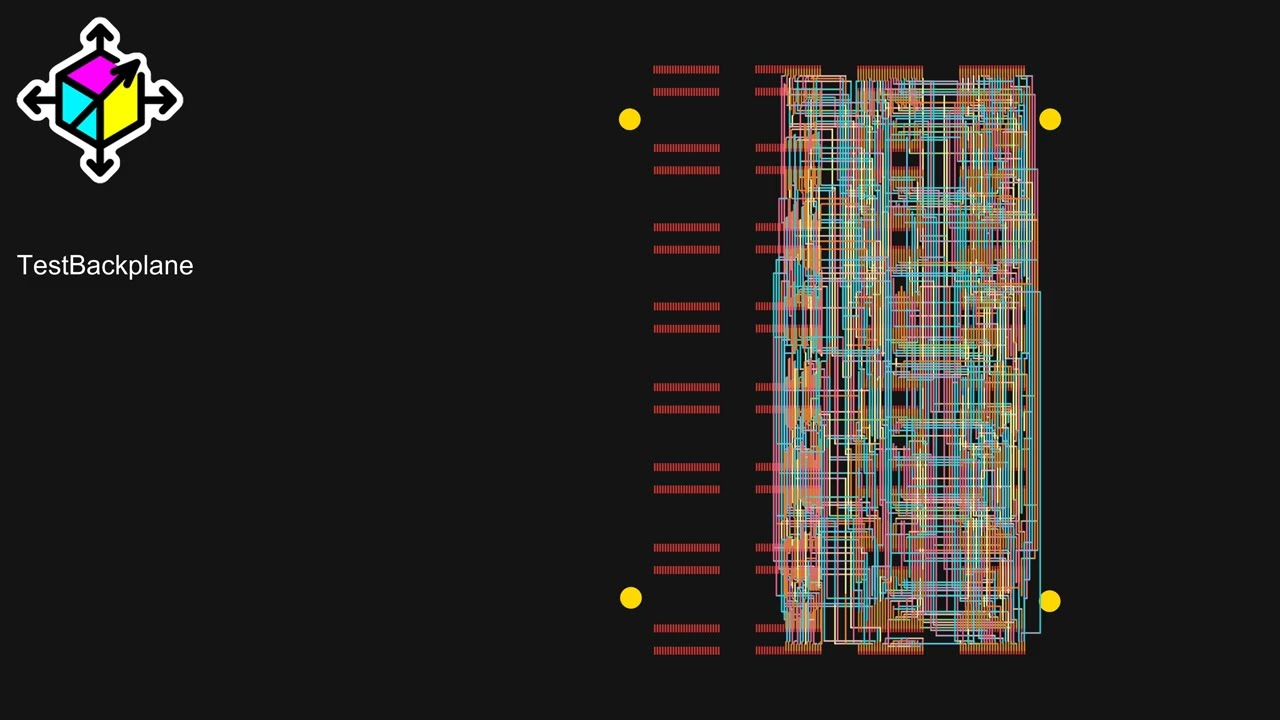
PathFinder Net Tour |
OrthoRoute is a KiCad autorouter for exceptionally large or very complex backplane designs and BGA escape patterns. The simplified idea behind this algorithm is, "put all your parts on the top layer, and on layers below that, create a grid of traces. Only horizontal traces on layer 1, only vertical traces on layer 2, and continue like that for all the other layers. Route through this 'Manhattan grid' of traces with blind and buried vias".
The algorithm used for this autorouter is PathFinder: a negotiation-based performance-driven router for FPGAs. My implementation of PathFinder treats the PCB as a graph: nodes are intersections on an x–y grid where vias can go, and edges are the segments between intersections where copper traces can run. Each edge and node is treated as a shared resource.
PathFinder is iterative. In the first iteration, all nets (airwires) are routed greedily, without accounting for overuse of nodes or edges. Subsequent iterations account for congestion, increasing the “cost” of overused edges and ripping up the worst offenders to re-route them. Over time, the algorithm converges to a PCB layout where no edge or node is over-subscribed by multiple nets.
With this architecture -- the PathFinder algorithm on a very large graph, within the same order of magnitude of the largest FPGAs -- it makes sense to run the algorithm with GPU acceleration. There are a few factors that went into this decision:
- Everyone who's routing giant backplanes probably has a gaming PC. Or you can rent a GPU from whatever company is advertising on MUNI bus stops this month.
- The PathFinder algorithm requires hundreds of billions of calculations for every iteration, making single-core CPU computation glacially slow.
- With CUDA, I can implement a SSSP (parallel Dijkstra) to find a path through a weighted graph very fast.
Note this is not a fully parallel autorouter; in OrthoRoute, nets are still routed in sequence on a shared congestion map. The parallelism lives inside the shortest-path search: a CUDA SSSP (“parallel Dijkstra”) kernel makes each individual net’s pathfinding fast, but it doesn’t route many nets simultaneously.
- KiCad Integration: Built as a native KiCad plugin using the IPC API
- GPU-Accelerated Routing: Uses CUDA/CuPy or Apple Silicon/Metal
- Manhattan Routing: Specialized for orthogonal routing patterns (horizontal/vertical layer pairs)
- Real-time Visualization: Interactive 2D board view with zoom, pan, and layer controls
- Checkpoint system for instant resume after crashes (experimental)
- Headless (Cloud) Routing: Rent an A100 GPU in some datacenter

OrthoRoute plugin showing a successful Manhattan route

A view of what the 'Manhattan Lattice' looks like in KiCad

OrthoRoute plugin showing a successful Manhattan route
- KiCad 10.0+ with the API server enabled under Preferences → Plugins
- An NVIDIA CUDA 12 GPU on Windows/Linux, or Apple Silicon on macOS
- Enough accelerator memory for the board and routing grid
- Download
OrthoRoute-1.0.0-KiCad-PCM.zip, or build it from source using the instructions below. - In KiCad 10, open Plugin and Content Manager and choose Install from File....
- Select the OrthoRoute PCM ZIP.
- Enable the API server under Preferences > Plugins.
- Restart PCB Editor and allow several minutes for KiCad to create OrthoRoute's isolated Python environment and install its dependencies.
- Open a board and launch OrthoRoute from Tools > External Plugins.
Clone the repository and run the package builder:
git clone https://github.com/bbenchoff/OrthoRoute.git
cd OrthoRoute
python build.py
The builder creates:
build/OrthoRoute-1.0.0-KiCad-PCM.zipfor KiCad 10's Install from File... commandbuild/OrthoRoute-1.0.0-KiCad-IPC.zipfor manual native-plugin installation
Developers can build and deploy directly into their newest local KiCad installation:
python build.py --deployUse python build.py --deploy --kicad-version 10.0 to target KiCad 10
explicitly. Standalone development remains available with python main.py.
As long as you have an NVIDIA card or Apple Silicon, yeah, probably. If it doesn't run on your card/computer, open a new issue.
Important distinction:
- VRAM usage is determined by board dimensions, layers, and grid pitch (not net count)
- Routing time is determined by number of nets
- Example: 500 nets vs 8,000 nets on the same 200×200mm 20-layer board uses the same VRAM but takes 16x longer to route
If you get "Out of Memory" errors: Rent a GPU with more VRAM or use --cpu-only mode (slower but no memory limit).
- Open your PCB in KiCad 10.0+ with the API server enabled
- Launch OrthoRoute from the PCB Editor toolbar
- Route your nets - OrthoRoute will automatically:
- Extract board data via KiCad IPC API
- Build 3D routing lattice (multi-layer Manhattan routing)
- Map pads to routing graph
- Route nets using GPU-accelerated PathFinder
- Monitor progress in the interactive PCB viewer
- Review results - tracks and vias are automatically added to KiCad
# Built-in acceptance test (synthetic board routing)
python main.py --test-manhattan

# Run regression tests
pytest tests/                                    # All tests (unit + regression)
pytest tests/regression/test_backplane.py -v    # Full regression suite (63 tests)
pytest tests/unit/ -v                           # Unit tests only (167 tests)
Note: CLI mode (python main.py cli board.kicad_pcb) is designed for development/debugging and requires KiCad to be running with the board open in PCB Editor.
Headless mode is designed for instances when you would like to route a board, but it won't fit in your GPU. This mode is actually several functions that allow for running a routing algorithm without KiCad.

Cloud routing workflow for running OrthoRoute on remote GPU instances
The workflow is three steps. First, export the PCB from the OrthoRoute plugin
- Load a PCB in KiCad
- Run the OrthoRoute plugin
- Select
File -> Export PCB...from the top menu - Save this file (with
.ORPextension) to disk
Second, run OrthoRoute using the saved .ORP file:
python main.py headless <your-board>.ORP

  Optional parameters:
python main.py headless <board>.ORP --max-iterations 200    # Set max iterations (default: 200)
python main.py headless <board>.ORP -o custom.ORS           # Specify output filename
python main.py headless <board>.ORP --use-gpu               # Force GPU mode
python main.py headless <board>.ORP --cpu-only              # Force CPU-only mode
Third, import the routing solution back into KiCad:
- In the OrthoRoute plugin, select
File -> Import Solution...(or press Ctrl+I) - Select the generated
.ORSfile - Review the routing in the preview window
- Click "Apply to KiCad" to commit the traces and vias to your PCB
Typical use case: Cloud GPU routing
Upload your .ORP file to a cloud GPU instance (Vast.ai, RunPod, etc.), run the routing there, then download the .ORS file back to your local machine for import. This allows routing large boards on powerful GPUs with more memory. Details on the file format are available in the docs
By default OrthoRoute runs in normal mode — minimal log output, no iteration screenshots:
| Behaviour | Normal mode (default) | Debug mode (ORTHO_DEBUG=1) |
|---|---|---|
| Log file level | WARNING only (~66 milestone lines/run) |
DEBUG (full detail) |
| Iteration screenshots | Disabled | Saved to debug_output/ at 8× resolution |
| Screenshot frequency | — | Every N iterations (ORTHO_SCREENSHOT_FREQ) |
| Screenshot scale | — | 8× default (ORTHO_SCREENSHOT_SCALE) |
Enable debug mode before launching KiCad (PowerShell):
$env:ORTHO_DEBUG = '1'
start kicad          # or however you launch KiCad
Fine-tune screenshot output:
$env:ORTHO_DEBUG             = '1'   # master switch
$env:ORTHO_SCREENSHOT_FREQ   = '5'   # screenshot every 5 iterations
$env:ORTHO_SCREENSHOT_SCALE  = '4'   # 4× resolution instead of 8×
Disable again:
Remove-Item Env:ORTHO_DEBUGLog files are always written to <plugin_dir>/logs/ regardless of mode.
Please see docs/contributing.md for guidelines.
If something's not working or you just don't like it, first please complain. Complaining about free stuff will actually force me to fix it. I would especially like to hear from you if you think it sucks.
This project is licensed under the MIT License - see the LICENSE file for details.
-
KiCad development team for the excellent IPC API
-
NVIDIA for CUDA/CuPy GPU acceleration support
-
The open-source PCB design community
-
Issues: GitHub Issues
-
Discussions: GitHub Discussions
-
Documentation: Project Wiki
Footnotes
-
Hyungseok Song et al., “PCBWorld: A Benchmark Environment for Engine-Grounded PCB Design Automation,” arXiv preprint arXiv:2607.05915, 2026, Table 3 and Appendix K.5. ↩